

One of the things that originally attracted me to the Air Venturi Avenge-X was its modular design. This isn’t a PCP that has to stay exactly the way it came out of the box. The stock can be changed, the caliber can be changed, and there are several adjustments available that let you configure the rifle differently over time.
That’s one of the reasons I think the Avenge-X remains such an interesting platform.
My Avenge-X started life in the Tactical configuration in .22 caliber. For this project, I’m changing one major part of that setup: replacing the Tactical stock with the Classic polymer stock.
The idea isn’t necessarily to prove that one stock is better than the other. I want to see just how much flexibility this platform gives an owner and what is actually involved in changing configurations.
Project at a Glance
PCP: Air Venturi Avenge-X
Starting Configuration: Tactical
New Configuration: Classic polymer stock
Original Caliber: .22
Primary Tools: 2.5 mm, 3 mm and 4 mm Allen wrenches
My Experience: First time performing this conversion
What Comes With the Classic Stock?
The replacement Classic stock came with the stock itself and approximately five fasteners.
For the conversion, the primary tools I used were metric Allen wrenches in 2.5 mm, 3 mm and 4 mm sizes.
There were no instructions included with my stock, so this became a figure-it-out-as-I-go project.
And that’s exactly what happened.
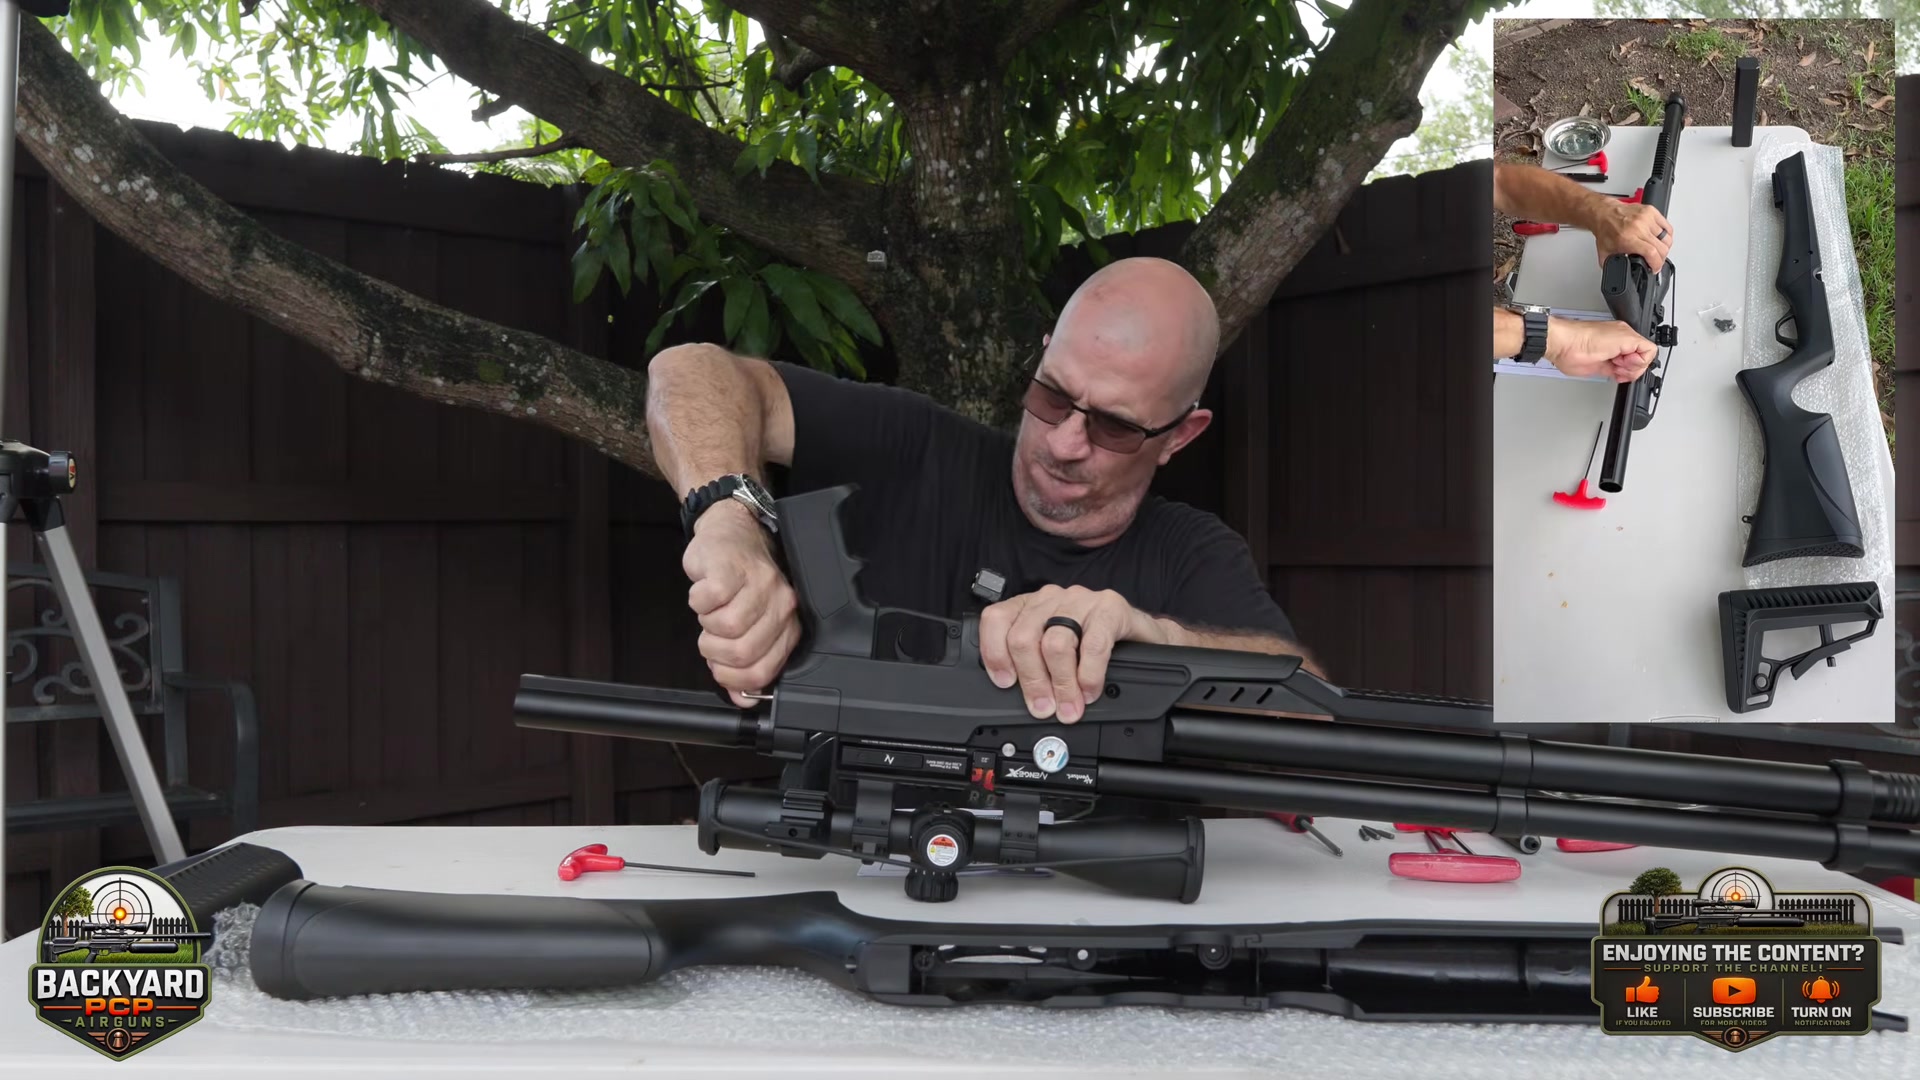
Starting the Conversion
Before beginning the stock removal, I degassed the Avenge-X. Even though I had degassed it the previous day, there was still some air remaining when I opened the degassing screw, so I left it open during the work.
The degassing screw on my rifle used a 3 mm Allen wrench.
From there, I began identifying and removing the fasteners holding the Tactical stock assembly in place.
Several used a 3 mm Allen wrench, while another recessed fastener required a 4 mm wrench.
The Awkward Part
A couple of the Tactical stock fasteners were difficult to access with the tools I had.
I was deliberately trying to remove the assembly without unnecessarily disassembling everything around it. That worked, but it made the process slower.
A longer Allen wrench with a more useful bend would have made reaching those fasteners considerably easier.
Eventually the rear portion of the Tactical stock came free. I then removed an additional piece using a 2.5 mm Allen wrench.
Once everything was removed, I finally had the opportunity to see the Avenge-X action without the stock around it.
It also gives you a much clearer look at some of the adjustment points on the rifle, including the hammer-spring adjustment—something that becomes relevant to another project I have planned for this Avenge-X.
Installing the Classic Stock
Installation of the Classic stock was essentially a matter of figuring out how the new stock indexed around the action and then getting the mounting points aligned.
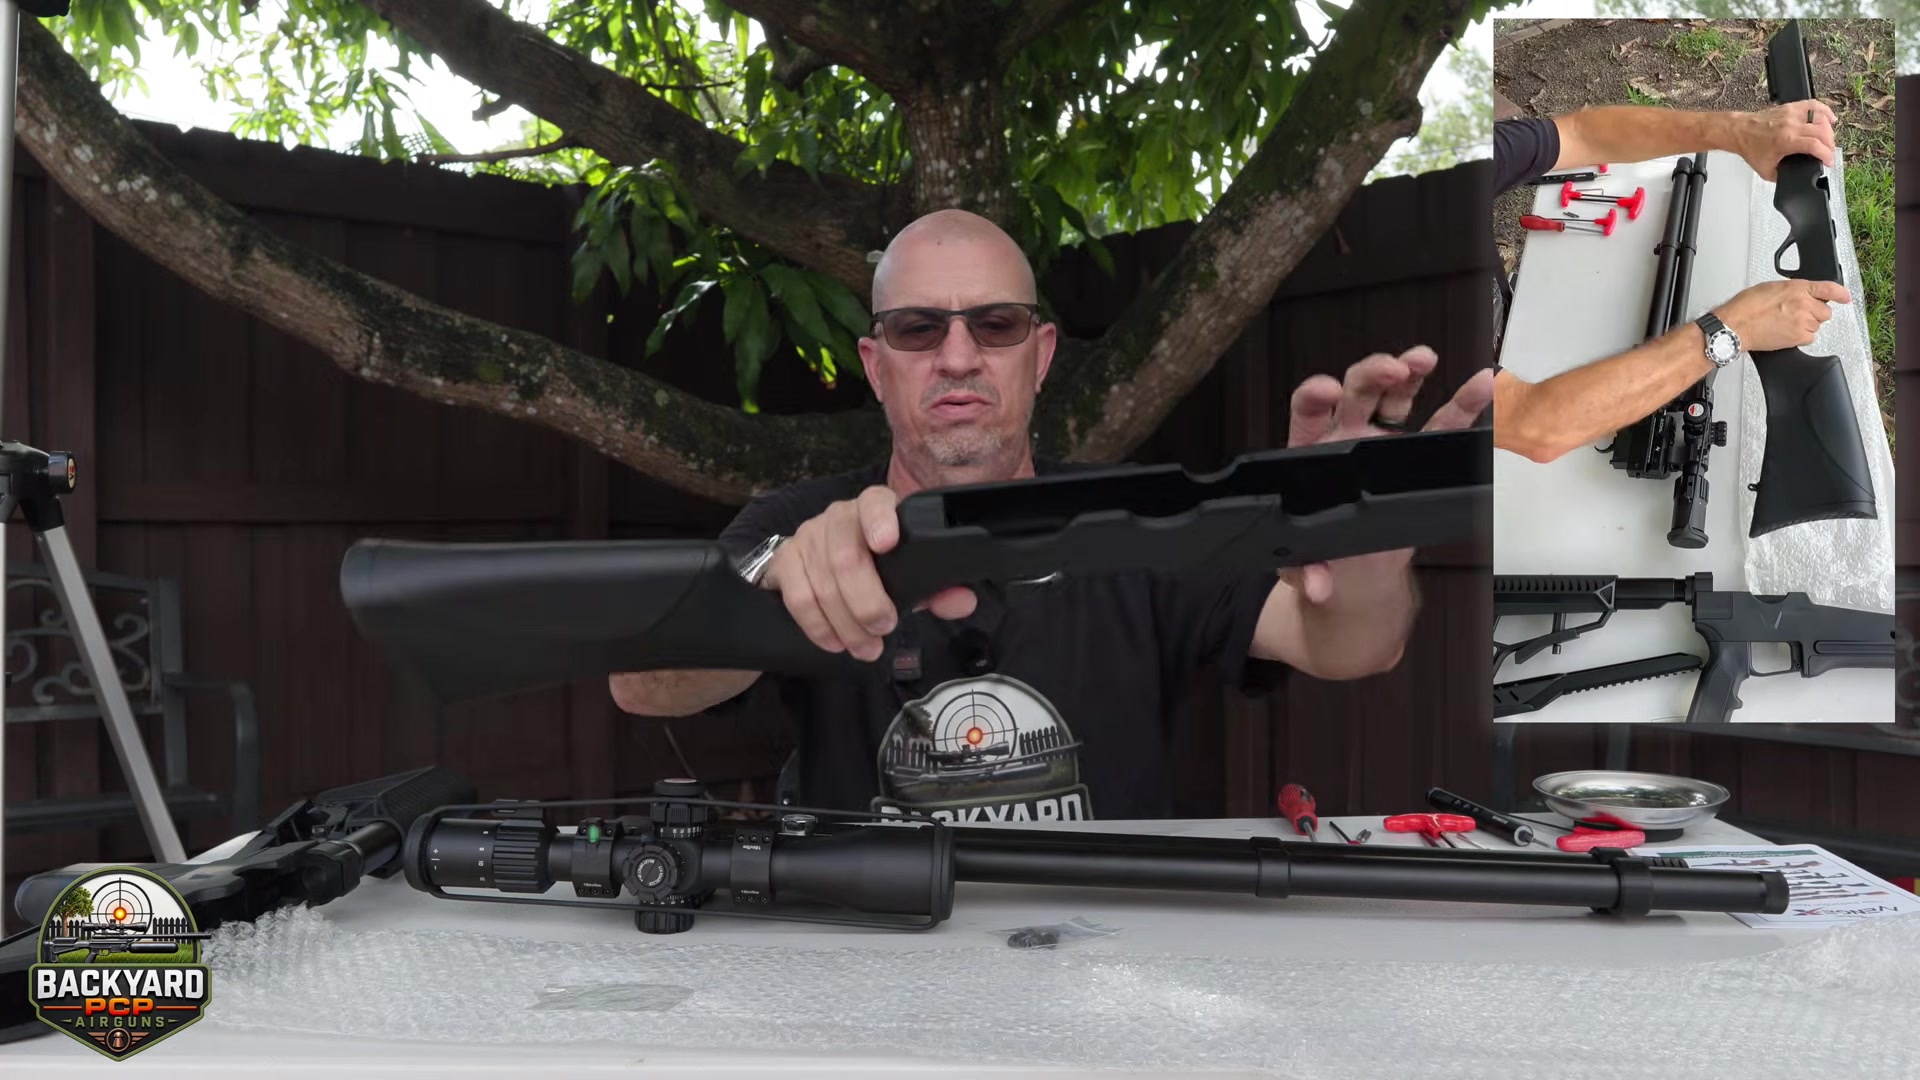
The Classic configuration doesn’t simply duplicate all the attachment points from the Tactical stock. That’s worth knowing before doing the conversion because otherwise you can easily find yourself wondering where a leftover Tactical fastener is supposed to go.
Once the stock was positioned correctly, I used the new hardware supplied with it and worked through the mounting points until everything lined up.
Lesson Learned: Don’t Overtighten the Stock
As I tightened everything, part of the stock became visibly misaligned.
It didn’t look right—and it didn’t feel right.
I backed off the fastener, and the stock dropped back into its proper position. Instead of continuing to tighten aggressively, I finished the adjustment by hand so I could better control the amount of torque being applied.
That’s probably the single biggest thing I’d do differently if I repeated the conversion:
Snug the stock hardware carefully and watch the alignment as you tighten it. More torque isn’t necessarily better.
Once I did that, everything settled into place properly.
Tactical vs. Classic: The Finished Result
And there it was: the same Avenge-X, now changed from the Tactical stock to the Classic configuration.
My first impression was positive. I liked how the Classic stock felt in my hand and the way I could hold the rifle.
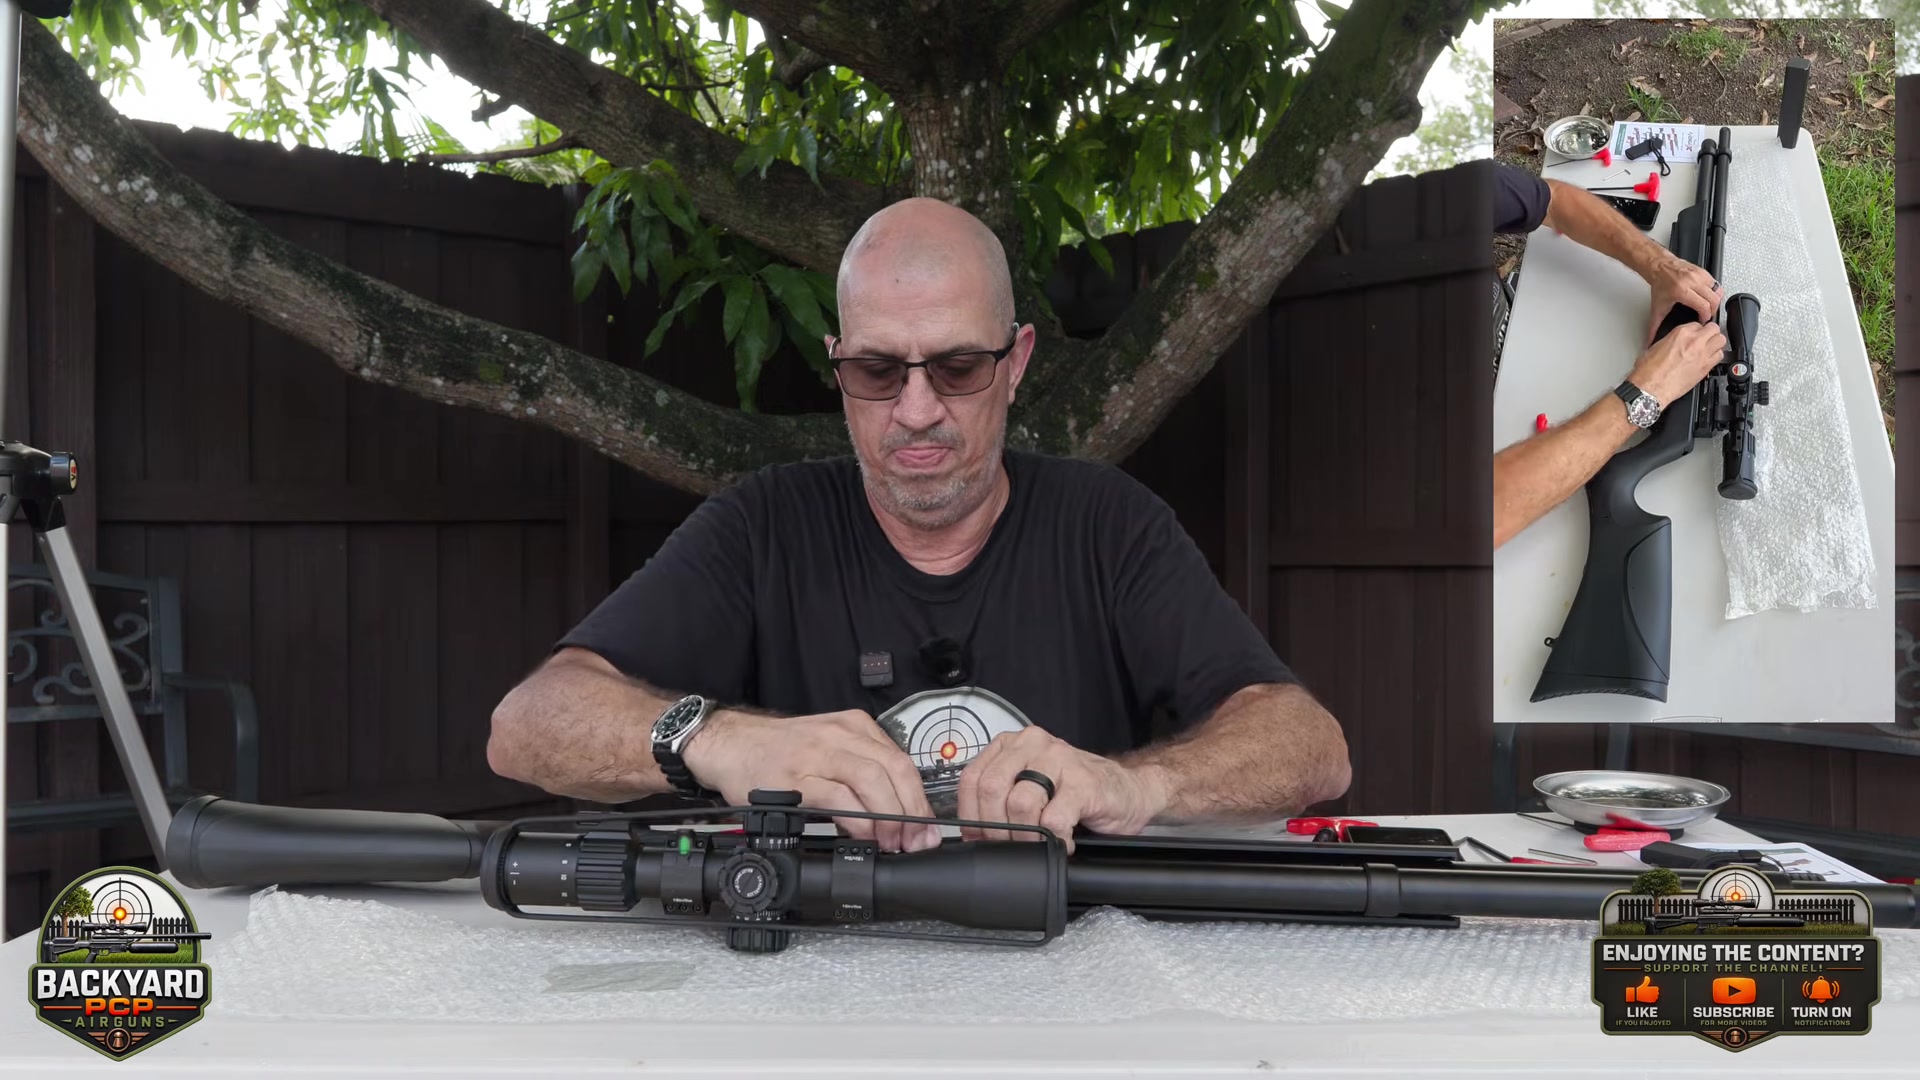
I wasn’t ready to declare a preference yet, though. It actually seemed like the Classic configuration might be heavier, and I wanted to spend some time shooting it before deciding which setup I preferred.
There’s also an interesting difference in the hardware. I counted 11 fasteners removed during disassembly of the Tactical setup, while the Classic installation used only five stock screws.
That’s part of what makes this project interesting to me.
I didn’t buy another PCP. I changed the configuration of the one I already owned.
Watch the Complete Conversion
The video below shows the entire first-time conversion, including the parts that didn’t immediately go as planned.
What’s Next for This Avenge-X?
The stock conversion is only the beginning.
My Avenge-X was originally purchased in .22 caliber, and the next major project is converting it to .25 caliber.
After that conversion, I’ll also be looking at whether the regulator and hammer-spring settings need adjustment for the new caliber.
That gives us another opportunity to explore what the modular Avenge-X platform can actually do rather than simply talking about its specifications.
Coming next: Air Venturi Avenge-X .22 → .25 Caliber Conversion