

After recently using my Yong Heng compressor to fill a 6.8-liter air bottle to around 4,250 PSI, I noticed that the compressor oil had become very dark. That fill took roughly an hour and 20 minutes, with breaks along the way to allow the compressor to cool down.
Since I had never changed the oil since buying the compressor, this seemed like a good time to perform some basic maintenance. I also decided to replace the cotton moisture filter at the same time because quite a bit of water had accumulated during that long fill.
In this article, I’ll go through what I did and some of the things I found along the way.
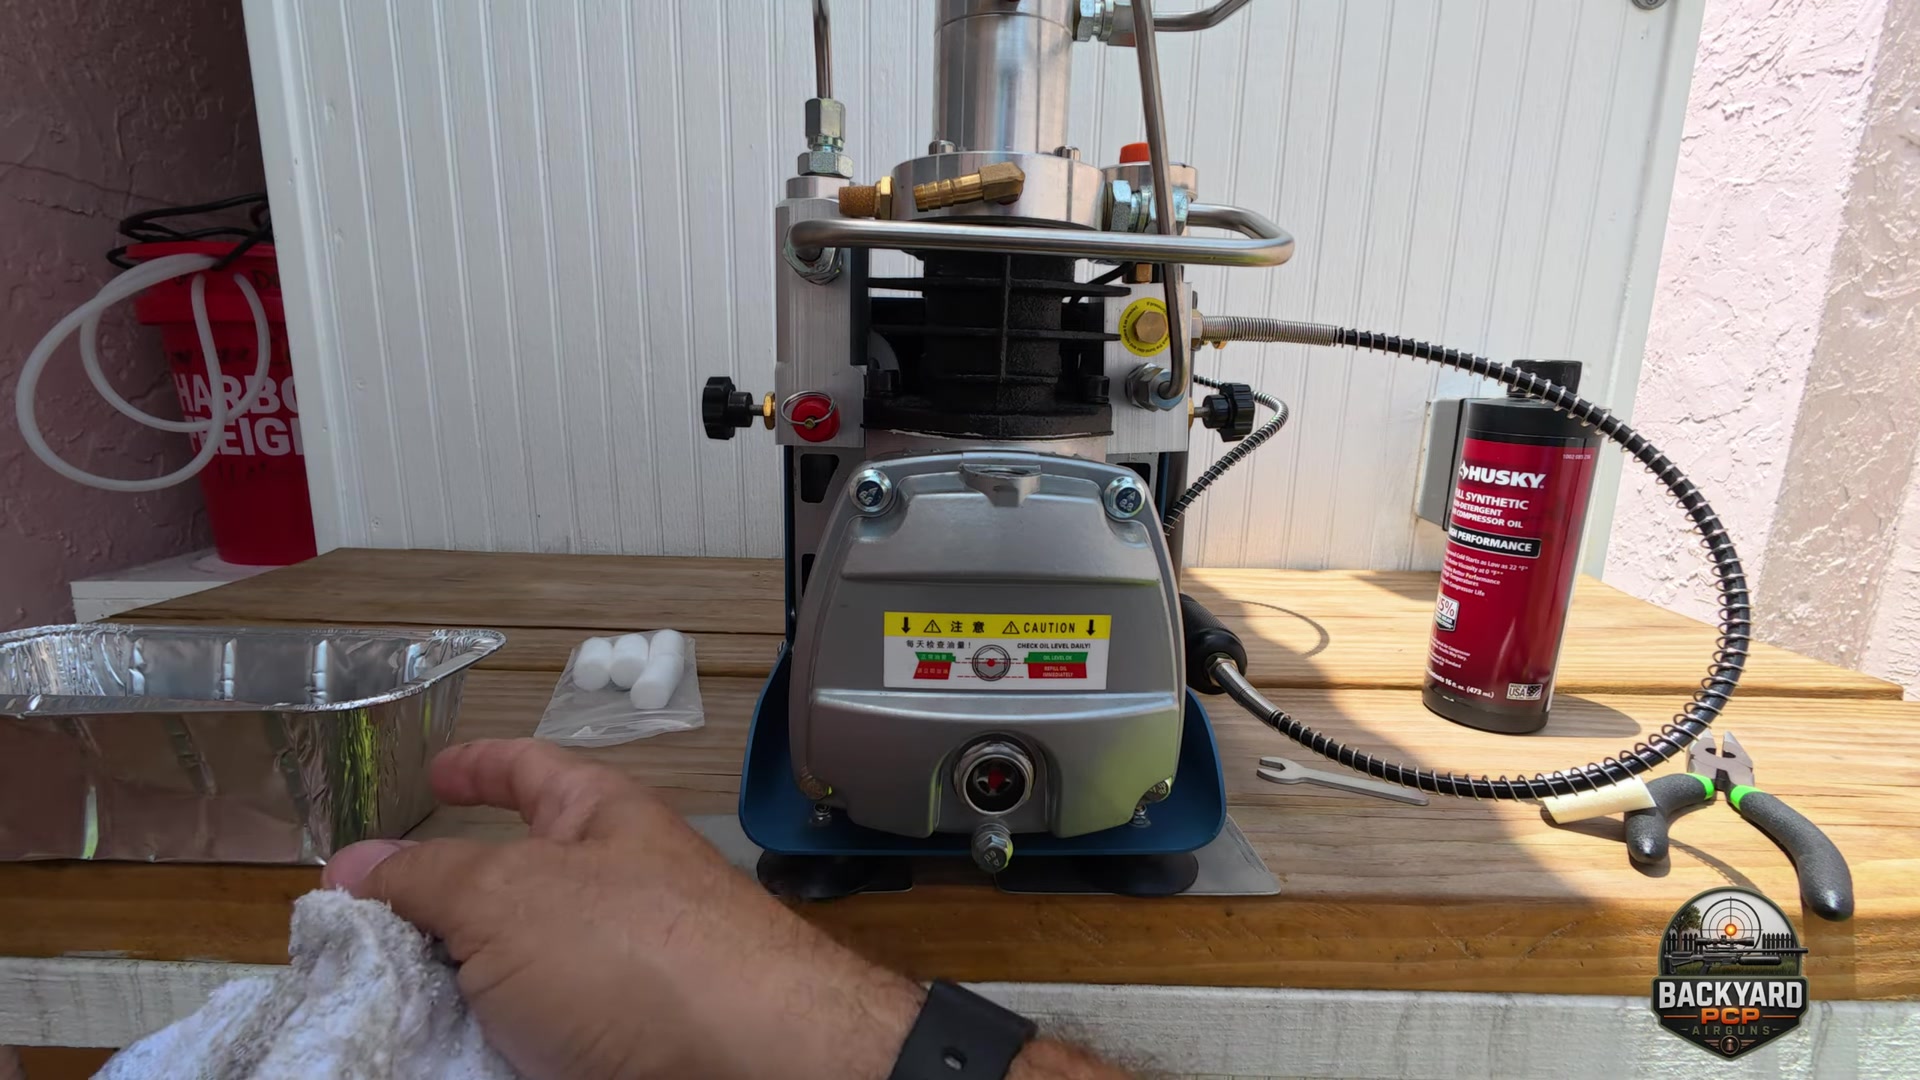
What I Used
For this maintenance, I kept things pretty simple:
- 10 mm wrench
- Small pliers
- Container for collecting the old oil
- Clean rags
- Replacement cotton filter
- Husky Full Synthetic Air Compressor Oil
- Small pouring container with a spout
I’ve been using the Husky full synthetic compressor oil since I first set up the Yong Heng. After looking at the available options and specifications, it seemed like a good choice for this compressor, so I’ve continued using it.
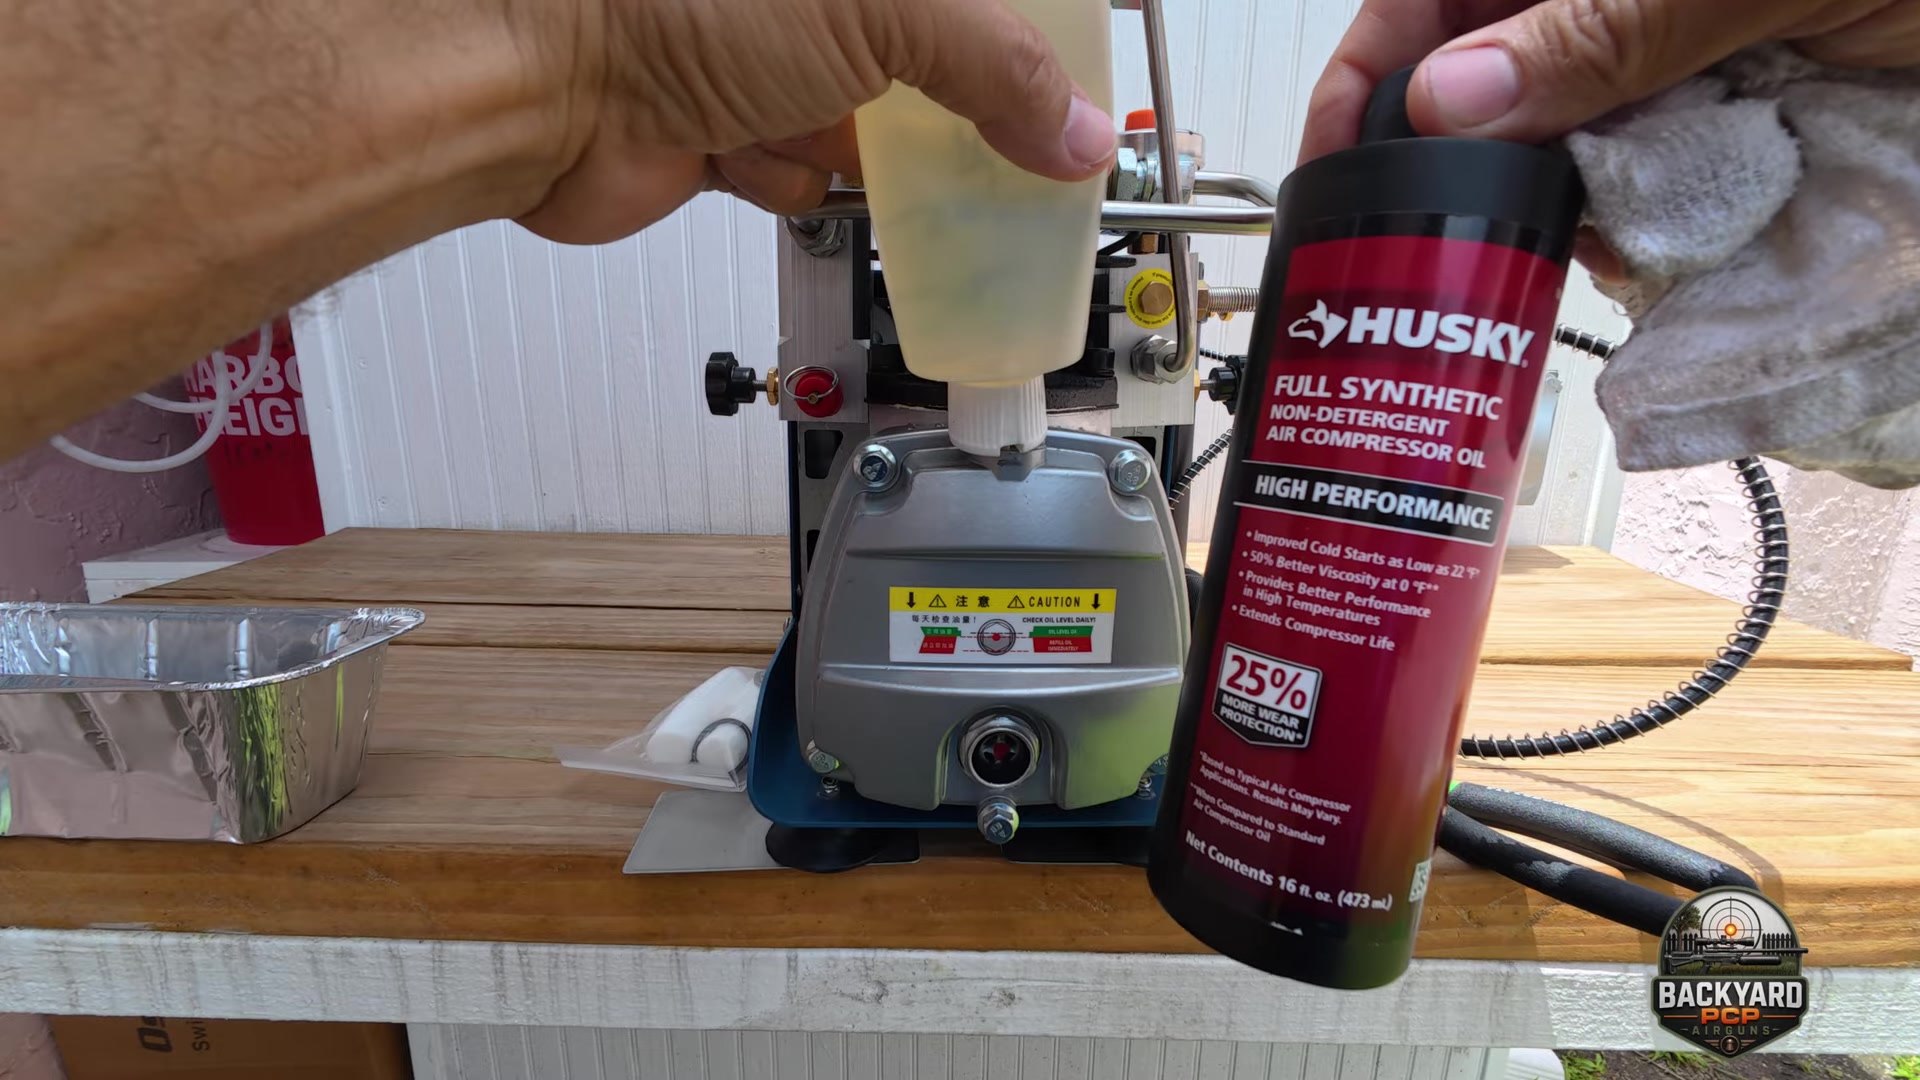
I transfer some of the oil into a smaller container with a pouring spout because it makes filling the compressor much easier and gives me better control over how much oil I’m adding.
Draining the Old Compressor Oil
The first step was removing the oil drain plug with a 10 mm wrench and allowing the old oil to drain into a container.
I don’t like overtightening plugs like this. It doesn’t take much force to seal them, and overtightening can potentially damage threads, seals, or other components.
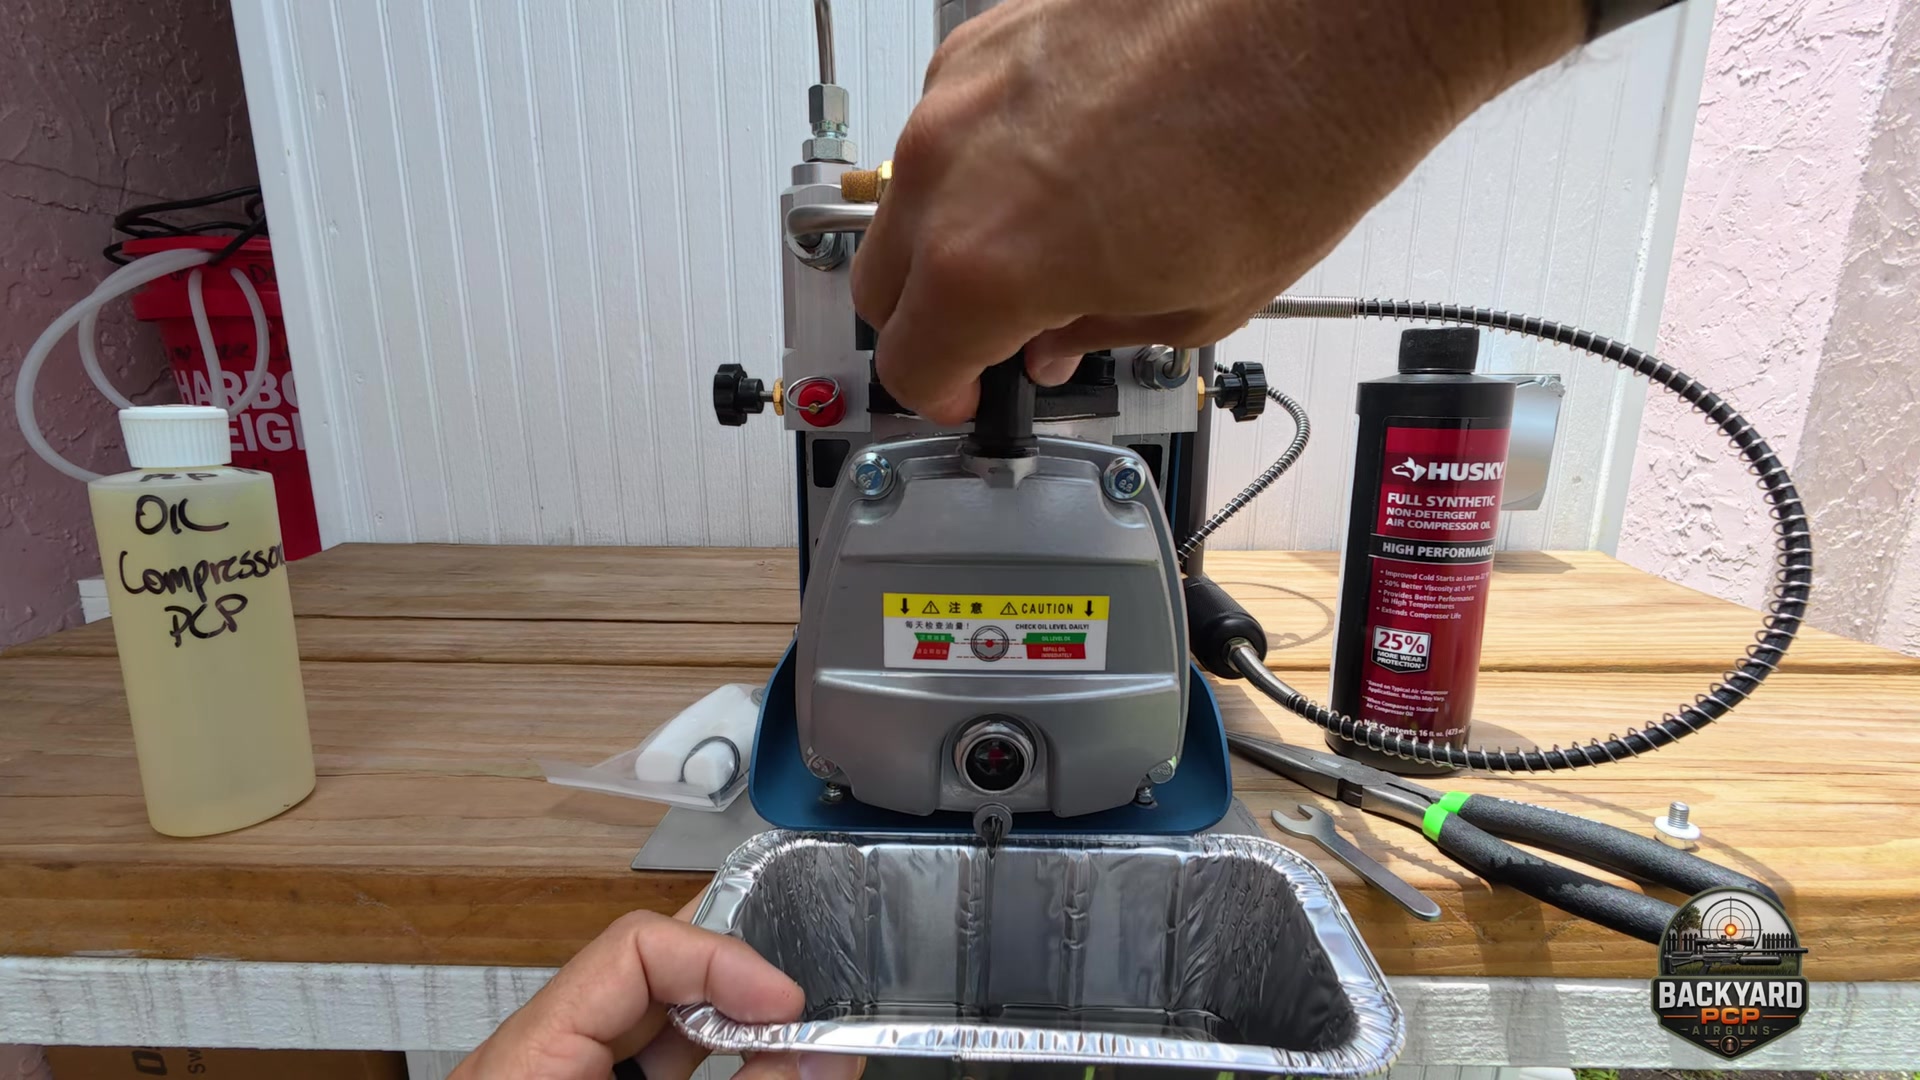
After removing the drain plug, I also opened the breather to help the oil drain more freely.
Once most of the oil was out, I carefully tilted the compressor slightly to help remove as much of the remaining old oil as possible.
The difference between the old oil and the new oil was immediately noticeable. Fresh compressor oil has a clear, light yellow or amber appearance. The oil that came out of my Yong Heng was extremely dark—almost black.
Considering the amount of work the compressor had recently done filling the large bottle, I was glad I decided to change it.
I also checked the drained oil for anything unusual, particularly visible metal particles that could indicate excessive internal wear. It’s a simple inspection that can potentially tell you something about what’s happening inside the compressor.
Refilling the Yong Heng
Once the old oil had finished draining, I reinstalled the drain plug and tightened it carefully.
When filling the compressor with new oil, I used the sight glass on the side of the compressor to determine the correct level rather than relying on a specific measured quantity.
I slowly added oil and gave it time to settle before adding more.
My goal was to have the oil level high enough in the sight glass while still leaving a visible air bubble at the top. Adding the oil slowly is important because it’s much easier to add a little more than it is to deal with an overfilled compressor.
After allowing the oil to settle, I was satisfied with the final level.
Replacing the Moisture Filter
While doing the oil change, I also took the opportunity to replace the cotton filter inside the moisture separator.
After opening the filter housing and removing the old element, it was obvious that it had been doing its job. The filter was still noticeably wet from the previous bottle fill, and there was moisture inside the housing.
I removed the old cotton element and replaced it with a fresh one.
The sealing O-ring appeared to be in good condition, so I reused it. I also applied a very small amount of oil to the O-ring before reinstalling the housing. This helps lubricate the seal and reduces the chance of damaging it during assembly.
The moisture separator was then reconnected to my additional GX-style inline filter.
How the Compressor Handled the Long Fill
The Yong Heng actually performed very well during the previous 6.8-liter bottle fill.
Because filling a bottle that large puts the compressor under load for an extended period, I didn’t run it continuously for the entire hour and 20 minutes. I operated it for roughly 20–30 minutes at a time, allowed it to cool, and replaced the frozen one-gallon cooling-water jug as needed.
My goal was to keep temperatures under control rather than push the compressor unnecessarily hard.
I didn’t experience any pumping or overheating problems during the fill, and the compressor successfully brought the bottle to approximately 4,250 PSI.
That said, the condition of the oil and the amount of moisture collected afterward were good reminders of how much work the compressor had actually done.
Maintenance Is Worth the Time
These Yong Heng compressors are relatively inexpensive compared with many dedicated PCP compressor systems, so I think basic maintenance is especially important if you want one to last.
Changing the oil, keeping the cooling system working properly, inspecting the moisture filters, and giving the compressor time to cool during long fills are all relatively simple things that can potentially help extend its service life.
This was my first oil change since purchasing the compressor, and seeing how dark the original oil had become made me glad I finally did it.
I’ll continue keeping an eye on the oil condition, moisture collection, filters, and overall compressor performance as I use it.
If you’re using a Yong Heng or similar compressor for your PCP airguns or larger air bottles, let me know about your experience in the comments. I’m especially interested in how often other owners change their oil and moisture filters.
And if you have any questions about the equipment I’ve used or something you’d like to see covered in a future Backyard PCP Airguns video or article, feel free to leave a comment.
— Backyard PCP Airguns